

Russian Blini Recipe
Welcome to our delightful Russian Blini recipe! If you’re yearning for a taste of Russia’s rich culinary heritage, you’re in for a treat. These thin, fluffy pancakes, known as Blini (pronounced “blee-nee”), are a true delight. Whether you enjoy them with a dollop of sour cream, a spoonful of caviar, or a drizzle of sweet jam, Russian Blini Recipe are a versatile and scrumptious treat suitable for any occasion. In this article, we’ll take you on a culinary journey to create these delectable pancakes in the comfort of your own kitchen. So, put on your apron and let’s embark on this flavorful adventure together!
Ingredients
Gather the following ingredients to make approximately 15 mouthwatering Russian Blini Recipe:
- 1 cup all-purpose flour
- 1 cup milk
- 2 large eggs
- 1/4 cup sparkling water
- 2 tablespoons melted butter
- 1/2 teaspoon salt
- 1/2 teaspoon sugar
- Butter or oil for cooking

Directions
Let’s dive into the step-by-step process of creating these Russian Blini Recipe:
- In a spacious mixing bowl, combine the all-purpose flour, salt, and sugar.
- In a separate bowl, whisk together the eggs, milk, sparkling water, and melted butter until you have a smooth and creamy mixture.
- Gradually pour the wet mixture into the dry ingredients, stirring continuously until you achieve a silky batter. Allow the batter to rest for approximately 30 minutes. This resting period is essential as it lets the flour fully hydrate, resulting in lighter and fluffier Blini. ⏳
- Heat a non-stick skillet or, if you have one, a dedicated Blini pan over medium heat. Lightly grease the pan with a dab of butter or a drizzle of oil.
- Pour a small ladleful of the batter into the center of the pan, then gently tilt and swirl the pan to spread the batter evenly. The goal here is to create thin and delicate pancakes. Cook for about 1-2 minutes on each side or until your Blini turn a beautiful golden brown with slightly crispy edges.
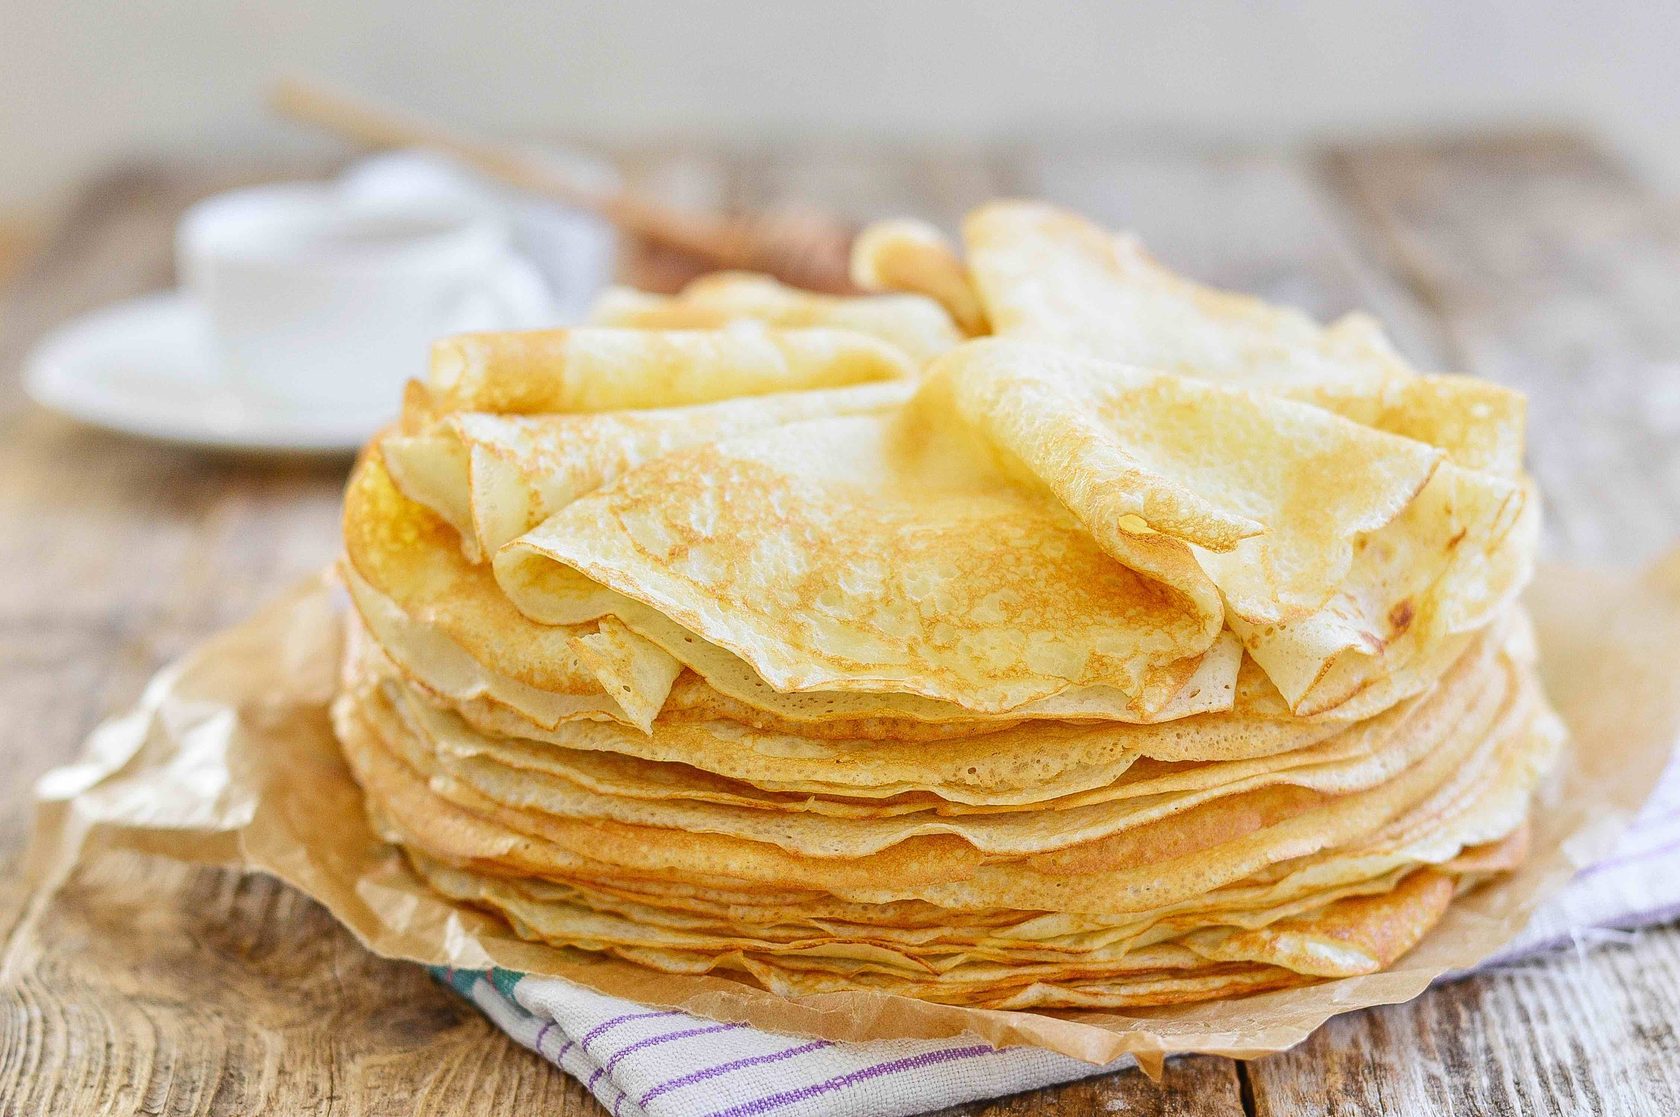
- As each Blini is done, remove it from the pan and keep it warm while you cook the rest of the batter. You can stack them on a plate with a kitchen towel to maintain their delightful texture. ️
How to Prepare
Creating perfect Russian Blini Recipe is all about finesse. When pouring the batter into the pan, swirl it gently to spread it evenly. Remember, the thinner, the better! As each Blini cooks, keep them warm by stacking them on a plate with a kitchen towel over the top. This prevents them from drying out and maintains their delightful texture. ️
Preparation Time
The total preparation time for Russian Blini Recipe is approximately 45 minutes, including the 30-minute resting period for the batter. So, you’ll have these delectable pancakes ready to enjoy in no time! ⏲️
Nutritional Values (per serving)
For those who like to keep track of their nutrition, here are the approximate values per serving:
- Calories: 70
- Protein: 2g
- Carbohydrates: 8g
- Fat: 3g
- Fiber: 0g
- Sugar: 1g
Please note that these values may vary depending on your choice of toppings and portion size. ️
Storage Conditions
Worried about leftovers? Fear not! If you find yourself with extra Blini, store them in an airtight container in the refrigerator for up to 2 days. When you’re ready to enjoy them again, simply warm them in a skillet or microwave until they’re heated through. It’s that easy! ️️
FAQ
Q1: Can I use whole wheat flour for a healthier option?
A1: Absolutely! You can substitute whole wheat flour for a portion or all of the all-purpose flour to add a nuttier flavor and extra fiber.
Q2: Can I freeze Russian Blini Recipe?
A2: Yes, you can freeze them. Place parchment paper between each Blini to prevent sticking, and store them in an airtight container in the freezer for up to 3 months. ❄️
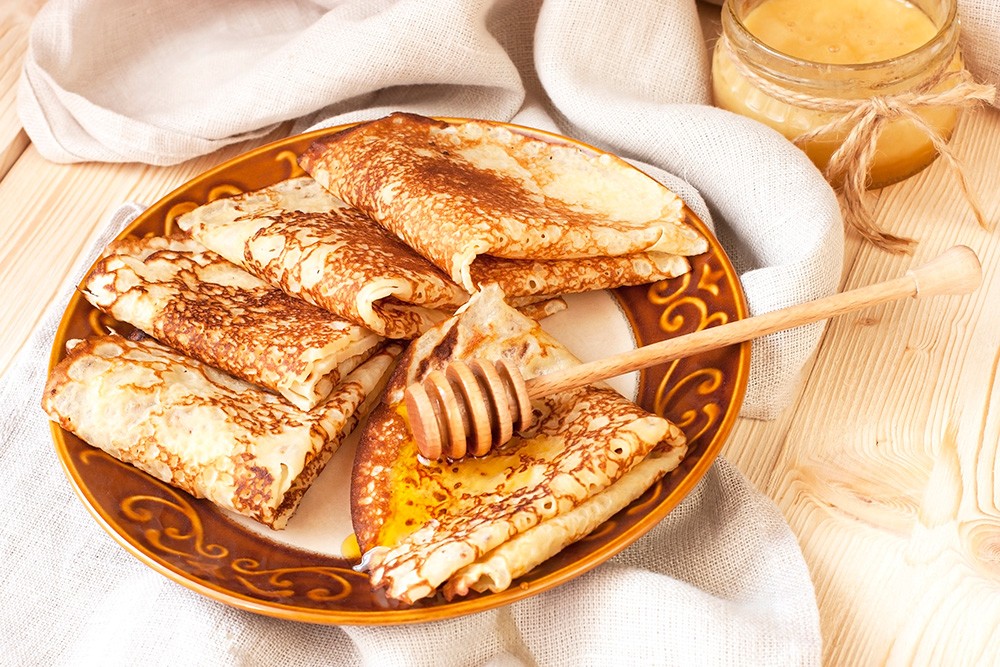
Q3: What are some traditional toppings for Blini?
A3: Traditional toppings include sour cream, caviar, smoked salmon, and fruit preserves. However, you can get creative with your favorite toppings.
Q4: Can I make the batter ahead of time?
A4: Yes, you can make the batter a day ahead and store it in the refrigerator. Just be sure to give it a good stir before cooking.
Q5: Is sparkling water necessary for the recipe?
A5: Sparkling water adds extra lightness to the Blini, but you can use still water if needed.
Q6: Can I make mini Blini for appetizers?
A6: Absolutely! Adjust the size to your liking and create bite-sized Blini for appetizers or hors d’oeuvres. ️
Q7: Can I use a regular frying pan instead of a Blini pan?
A7: Yes, a non-stick frying pan works well for making Blini if you don’t have a dedicated Blini pan.
In conclusion, Russian Blini Recipe are a delightful and versatile addition to your culinary repertoire. Whether you’re celebrating a special occasion, hosting brunch with friends, or simply indulging in a tasty snack, these thin pancakes will never disappoint. With our easy-to-follow recipe and helpful tips, you can recreate the magic of Russia’s beloved Blini in your own kitchen. So, grab your ingredients, don your apron, and start flipping these scrumptious pancakes today! Enjoy your culinary journey into Russian cuisine. Bon appétit! ️
Leave a Reply